What’s the Tip?
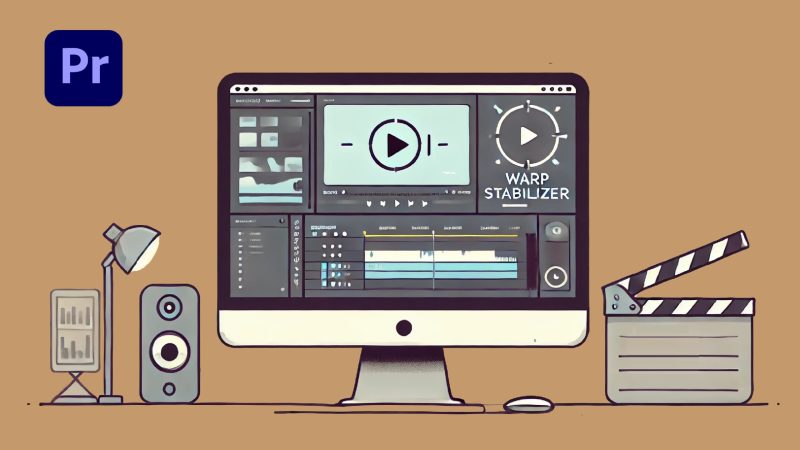
In the world of video editing, smooth, stable footage can significantly enhance the quality of your projects. Adobe Premiere Pro’s Warp Stabilizer is a powerful tool designed to help you achieve just that. Whether you’re dealing with handheld camera shakes or slight jitters, Warp Stabilizer can transform your footage into a polished, professional-looking video. In this blog post, we’ll explore what Warp Stabilizer is, how to use it effectively, and some tips and tricks to get the best results.
What is Warp Stabilizer?
Warp Stabilizer is an effect in Adobe Premiere Pro that analyzes the motion in your footage and applies stabilization to reduce unwanted camera movements. It’s particularly useful for correcting shaky handheld shots or footage captured in challenging conditions. The effect works by tracking the movement in each frame and adjusting the position, scale, and rotation to smooth out the motion.
How to Use Warp Stabilizer
Using Warp Stabilizer in Adobe Premiere Pro is straightforward. Follow these steps to stabilize your footage:
1. Import Your Footage: Start by importing your shaky footage into Premiere Pro and adding it to your timeline.
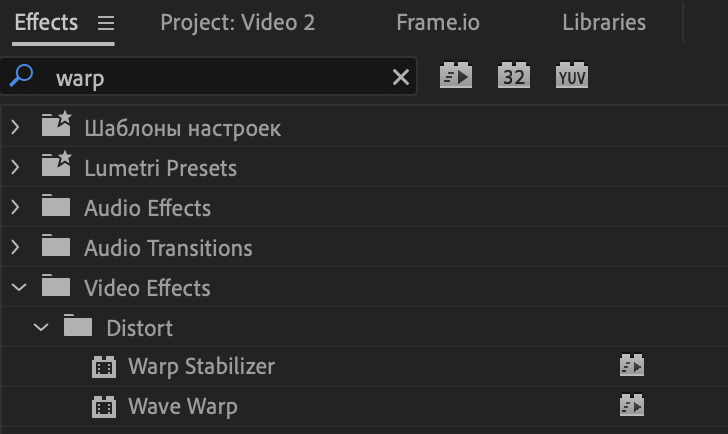
2. Apply the Warp Stabilizer Effect: Go to the Effects panel, search for “Warp Stabilizer,” and drag it onto your clip.
3. Analyze the Footage: Once applied, Premiere Pro will automatically start analyzing the footage. This process can take some time depending on the length and complexity of your clip.
4. Adjust Settings: After the analysis is complete, you can fine-tune the stabilization settings in the Effect Controls panel. Key settings include:

- Smoothness: Adjusts the level of stabilization. Higher values result in smoother footage but can cause more cropping and distortion.
- Method: Choose from options like Subspace Warp, Position, Position, Scale, and Rotation to determine how the stabilization is applied.
- Borders: Controls how the edges of the frame are handled. Options include Stabilize, Crop, Auto-Scale, and Synthesized Edges.
Tips for Best Results
While Warp Stabilizer is a powerful tool, getting the best results often requires some fine-tuning and consideration:
- Trim Unnecessary Parts: Stabilization works better on shorter clips. Trim any unnecessary parts of your footage before applying the Warp Stabilizer.
- Use Appropriate Settings: Experiment with different settings to find what works best for your footage. Sometimes, a lower smoothness value or a different stabilization method can yield better results.
- Avoid Extreme Shakes: Warp Stabilizer works best on footage with moderate shakiness. Extremely shaky footage might still appear unnatural even after stabilization.
- Check for Distortion: After applying stabilization, carefully review your footage for any warping or distortion. Adjust settings as needed to minimize these artifacts.
- Combine with Other Techniques: In some cases, combining Warp Stabilizer with other stabilization techniques (like using a tripod or gimbal during shooting) can enhance the overall stability of your footage.
Conclusion
Adobe Premiere Pro’s Warp Stabilizer is an essential tool for video editors aiming to produce professional-quality, stable footage. By understanding how to apply and adjust this effect, you can significantly enhance the visual appeal of your projects. Remember to experiment with different settings and combine techniques to achieve the best results.