What’s the Tip?
MacOS is packed with powerful features that can significantly enhance your productivity, yet many users are unaware of some of its most useful tools. One such hidden gem is the Quick Actions feature in Finder. Quick Actions allow you to perform common tasks directly from the Finder window without opening additional applications. In this blog post, we’ll explore how to use Quick Actions to streamline your workflow and make everyday tasks more efficient.
What are Quick Actions?
Quick Actions are customizable shortcuts that appear in the Finder’s Preview pane or by right-clicking on files. They let you perform a variety of tasks such as rotating images, creating PDFs, trimming videos, and more, directly from the Finder. This feature can save you time and clicks, making it easier to manage your files and perform repetitive tasks.
How to Use Quick Actions
Accessing Quick Actions:
- In the Finder:
-
- Open Finder and select a file.
- Look at the Preview pane on the right side of the Finder window. If the Preview pane is not visible, click “View” in the menu bar and select “Show Preview”.
- You will see Quick Actions at the bottom of the Preview pane.
- Right-Click Menu:
-
- Right-click on a file to bring up the context menu.
- Hover over “Quick Actions” to see available options.
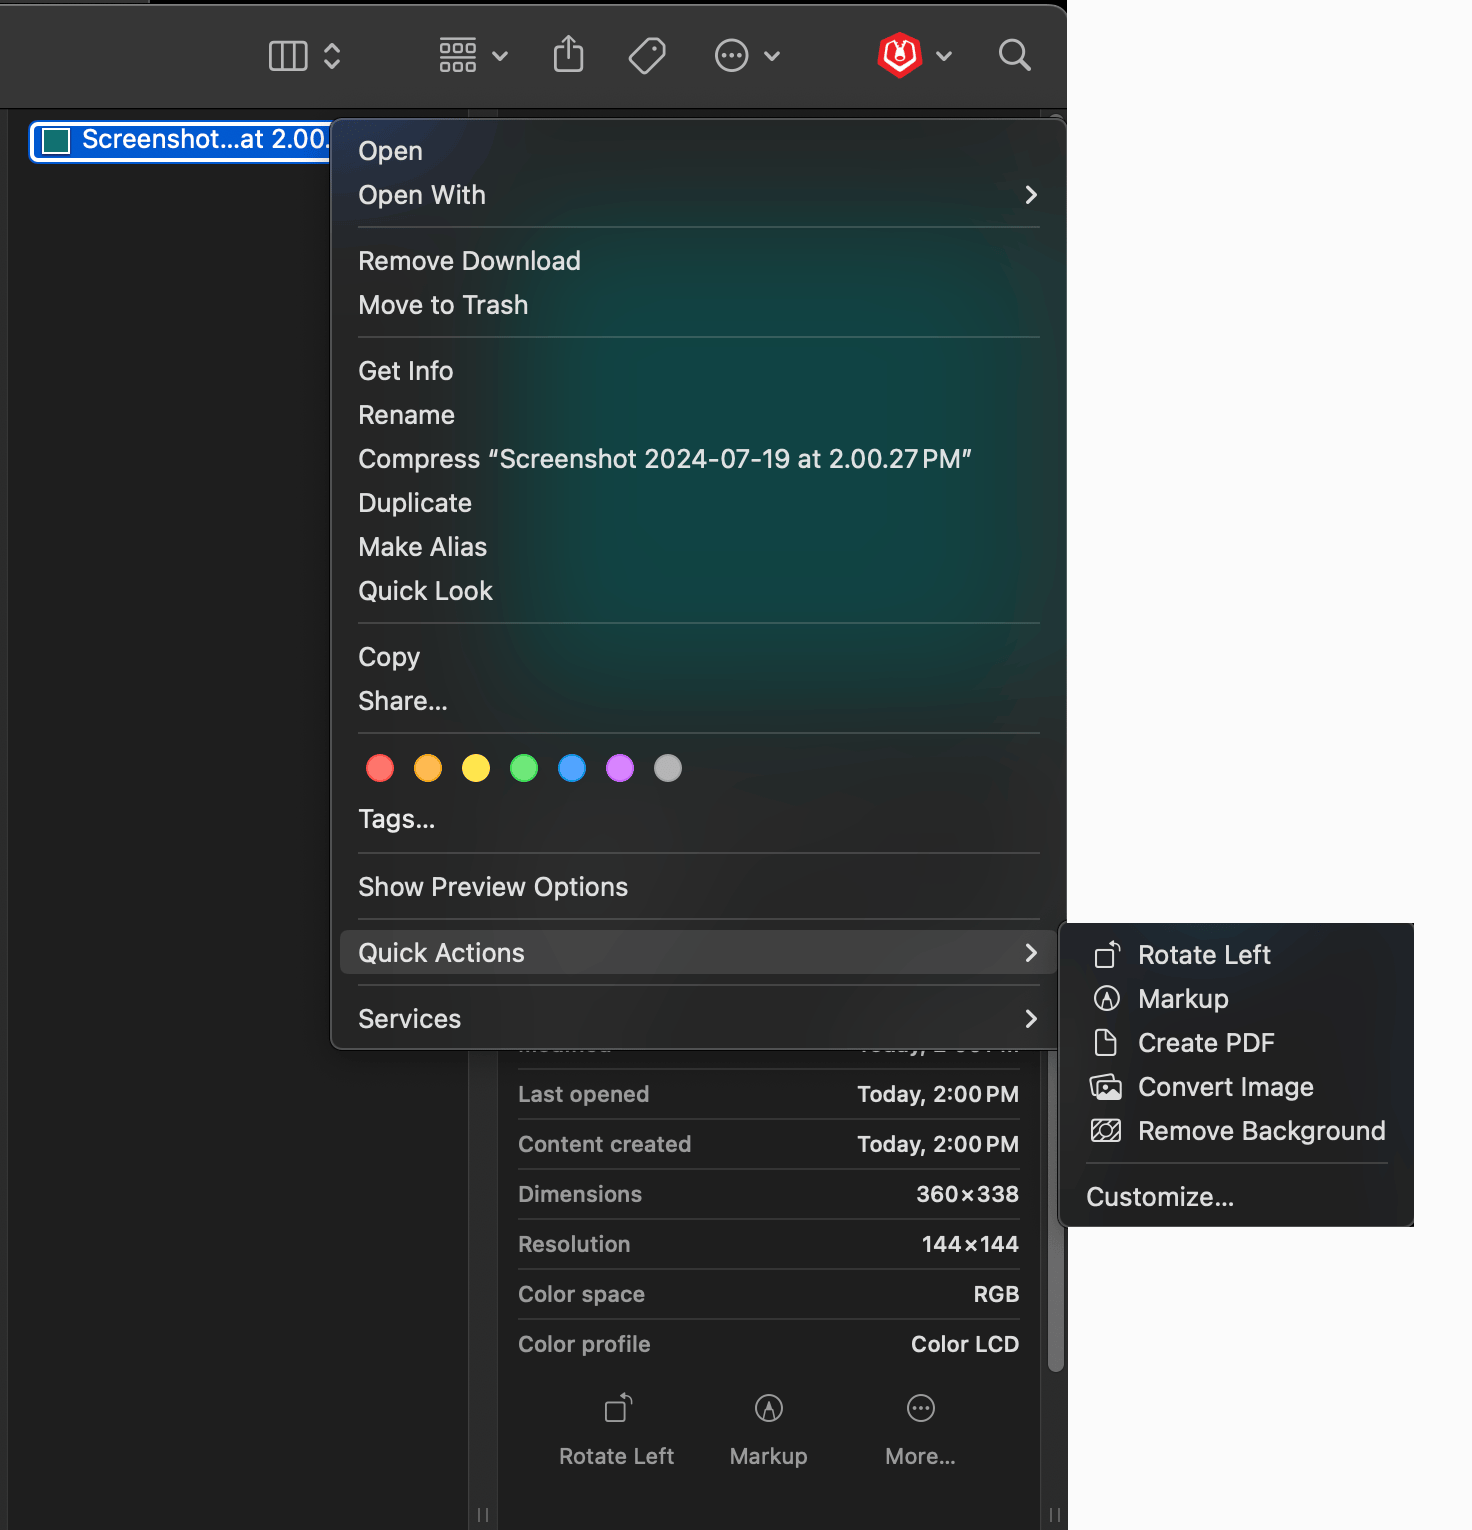
Default Quick Actions:
- Rotate Image: Quickly rotate an image left or right.
- Markup: Annotate PDFs and images.
- Create PDF: Combine multiple files into a single PDF.
- Trim Video: Trim the start or end of a video file.
Customizing Quick Actions
You can customize Quick Actions to fit your workflow better. Here’s how:
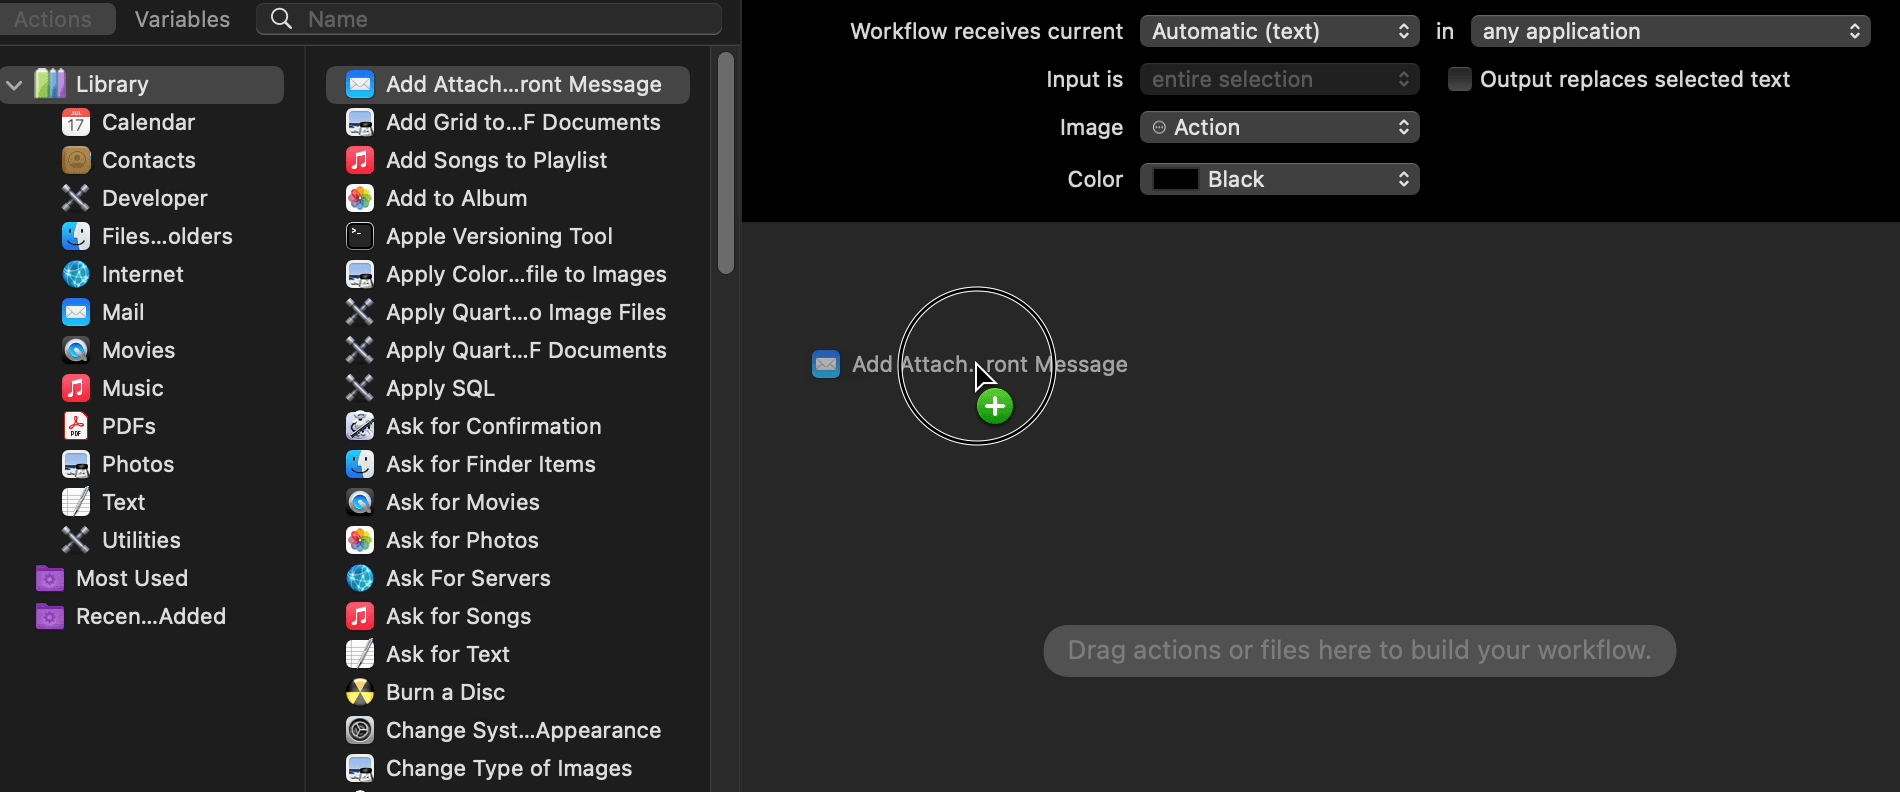
- Open Automator:
-
- Go to Applications > Automator to create custom workflows that can be added to Quick Actions.
- Create a New Quick Action:
-
- Select “Quick Action” as the document type.
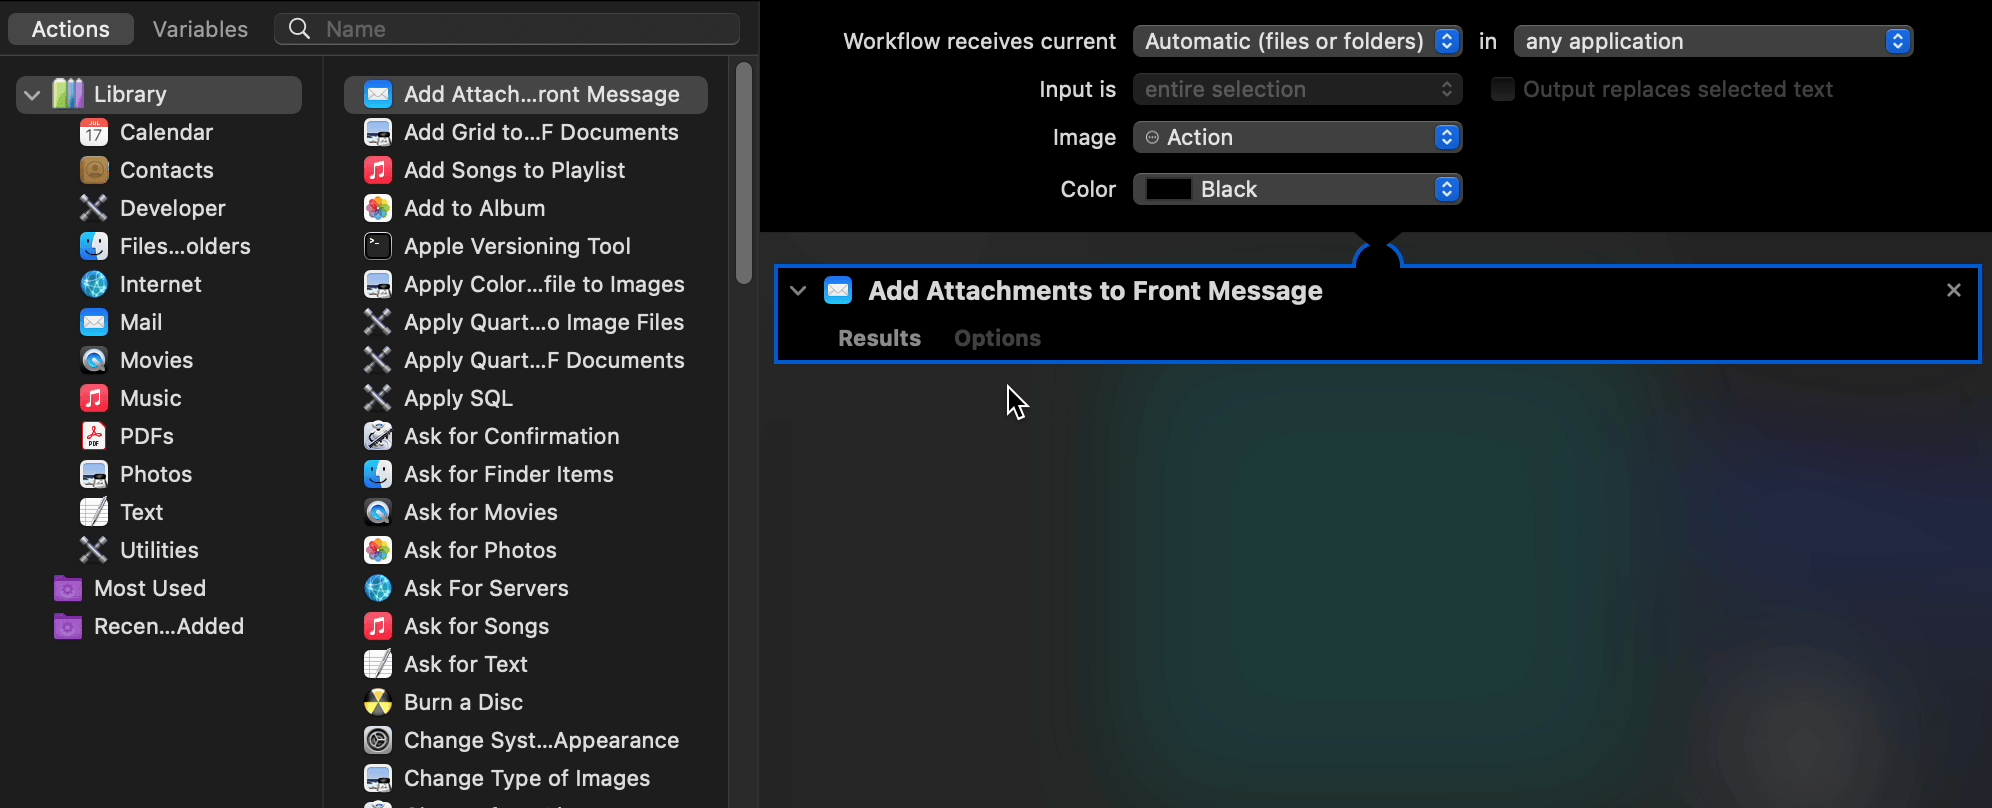
- Drag and drop the actions you want to include in your Quick Action workflow.
- Save and Use Your Quick Action:
-
- Save your workflow and it will appear in the Quick Actions menu in Finder.
Example Use Cases
- Batch Rename Files:
-
- Use Quick Actions to create a custom workflow in Automator for batch renaming files, making it easier to organize large numbers of files quickly.
- Convert Images to Different Formats:
-
- Create a Quick Action to convert images from one format to another, such as from PNG to JPEG, without needing to open any additional software.
- Add Watermarks to Documents:
-
- Set up a Quick Action to add watermarks to PDFs or images, ideal for quickly branding documents or photos.
- Set up a Quick Action to add watermarks to PDFs or images, ideal for quickly branding documents or photos.
Tips for Maximizing Quick Actions
- Combine Actions: Use Automator to create workflows that combine multiple Quick Actions into a single task.
- Explore Third-Party Apps: Some third-party apps integrate with Quick Actions, offering even more functionality.
- Keep It Simple: Start with simple Quick Actions and gradually add more complex workflows as you become more comfortable with the feature.
Conclusion
Quick Actions in macOS Finder are a powerful yet underutilized feature that can greatly enhance your productivity. By taking advantage of these customizable shortcuts, you can streamline your workflow, save time, and make managing your files easier than ever.