What’s the Tip?
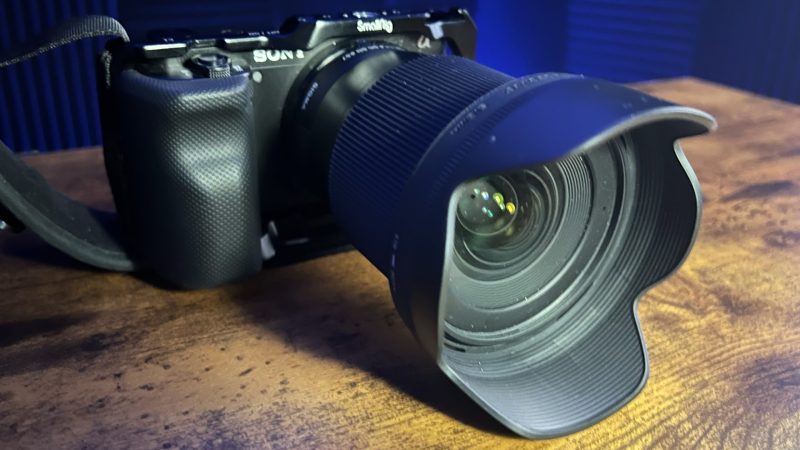
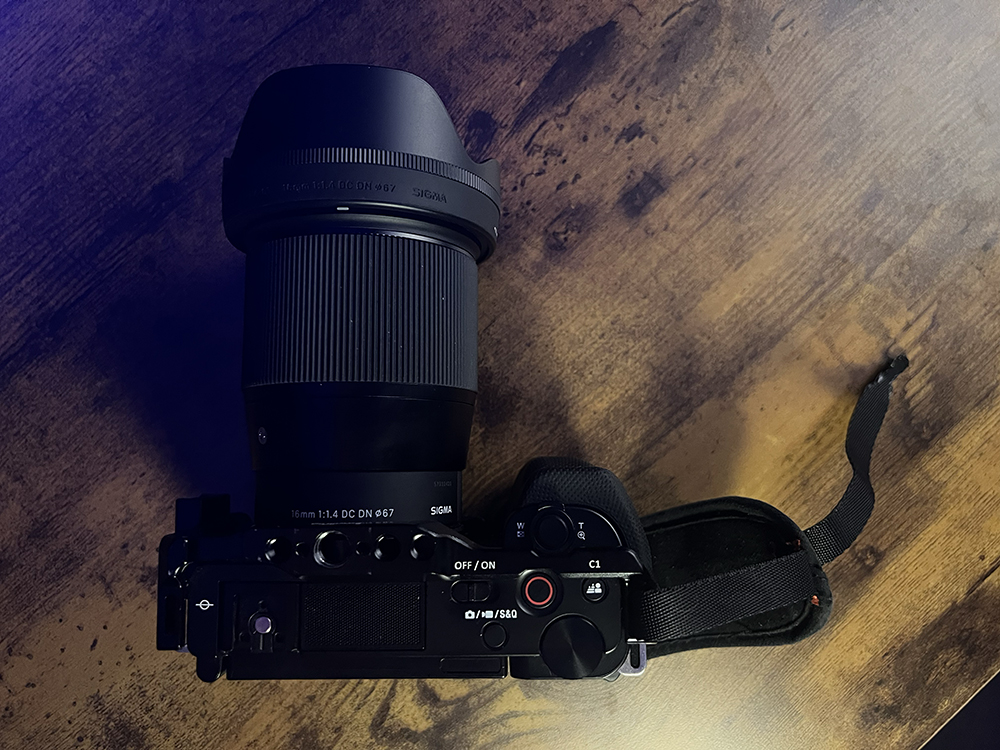
*Note: The camera featured is the ZV-E10 with a SmallRig Cage and The Sigma 16mm Lense
As a YouTuber, having the right camera setup is crucial to creating high-quality content that engages your audience. While there are countless options on the market, finding a balance between performance and price can be challenging. Today, I want to share a combination that I personally use and highly recommend: the Sony ZV-E10 paired with the Sigma 16mm f/1.4 lens. This setup offers excellent video quality, ease of use, and affordability, making it an ideal choice for both beginners and seasoned content creators.
Why the Sony ZV-E10?
The Sony ZV-E10 is designed specifically with content creators in mind. Here are some key features that make it an excellent choice for YouTubers:
- Compact and Lightweight: The ZV-E10 is easy to carry around, making it perfect for vlogging and on-the-go filming.
- Excellent Video Quality: It offers 4K video recording with no crop, ensuring high-resolution footage.
- Versatile Flip Screen: The fully articulating screen allows you to monitor your shots from any angle, a must-have for solo creators.
- Great Audio Options: The camera features a built-in directional microphone and a 3.5mm mic jack for external microphones, ensuring high-quality audio.
- Easy Connectivity: With USB-C and HDMI ports, as well as built-in Wi-Fi and Bluetooth, the ZV-E10 makes transferring files and streaming live a breeze.
Why Pair It with the Sigma 16mm f/1.4?
The Sigma 16mm f/1.4 lens complements the Sony ZV-E10 perfectly. Here’s why this lens is a great addition:
- Wide Aperture: The f/1.4 aperture allows for stunning background blur (bokeh) and excellent low-light performance.
- Sharp Image Quality: Sigma lenses are known for their sharpness, and this lens is no exception. Your videos will be crisp and clear.
- Ideal Focal Length: The 16mm focal length is versatile, providing a wide field of view that is perfect for vlogging and sit-down videos.
- Build Quality: The lens is well-constructed and durable, making it a reliable tool for daily use.
The Benefits of This Combination
When you pair the Sony ZV-E10 with the Sigma 16mm f/1.4, you get a powerful yet affordable setup that covers all your content creation needs. Here are some benefits of using this combination:
- Professional-Looking Videos: Achieve a cinematic look with the combination of 4K video and beautiful bokeh.
- Flexibility in Shooting: Whether you’re shooting indoors, outdoors, in low light, or bright conditions, this setup handles it all with ease.
- User-Friendly: The ZV-E10’s intuitive interface and the straightforward operation of the Sigma lens make this setup accessible even for beginners.
- Cost-Effective: Compared to other high-end setups, this combination offers exceptional value for money, making it accessible for YouTubers on a budget.
• Sony ZV-E10 on Amazon (Affiliate link)
• Sigma 16mm f/1.4 lens on Amazon (Affiliate link)
• SMALLRIG ZV-E10 Cage (Affiliate link)
Conclusion
Investing in the right camera and lens can make a significant difference in the quality of your YouTube content. The Sony ZV-E10 and Sigma 16mm f/1.4 combo is a fantastic choice, offering professional-grade features at an affordable price. Whether you’re just starting out or looking to upgrade your current setup, this combination is sure to help you create captivating videos that stand out.